手把手教你制作手机底部导航栏,领导看完都说好👍
文章目录
- 手把手教你制作手机底部导航栏,领导看完都说好👍
- 前言
- 一、首先看效果图
- 二、步骤实现
- 1. index.html
- 2. index.css
- 3. ionic.esm.js 和 ionic.js 下载
前言
为什么产品要有 Tab Bar?
答案是为了易于使用,意味着通过 Tab Bar 这种简单的设计可以轻松帮助用户导航到页面。
明白了上面的问题后,接下来就要考虑如何来设计 Tab Bar,能更好的满足用户的需求和体验。
导航栏应该只包含最有用的信息,不能添加过多无用的标签使导航栏混乱。许多 App 在导航栏上添加搜索功能,因为这有助于用户更快地导航和检索内容
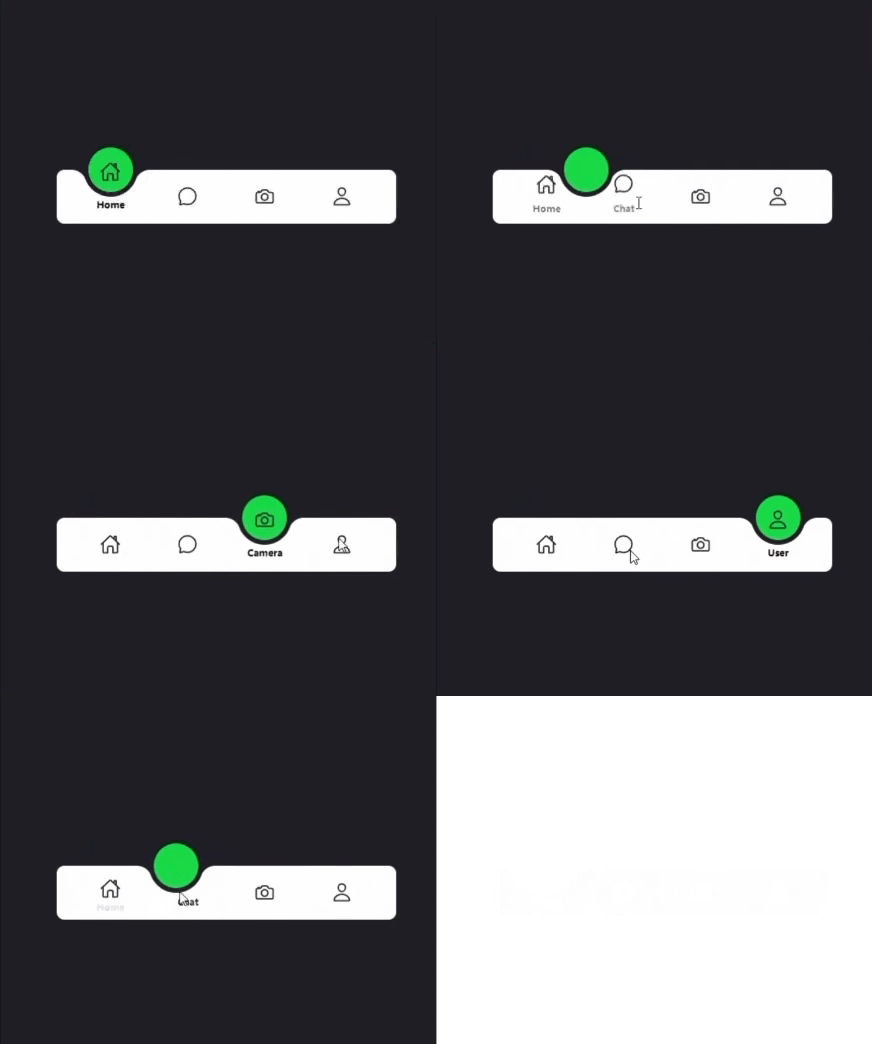
一、首先看效果图

二、步骤实现
1. index.html
<!DOCTYPE html>
<html lang="en">

<head>
    <meta charset="UTF-8">
    <title>BottomBar</title>
    <link rel="stylesheet" href="index.css" type="text/css">
</head>

<body>
    <div class="container">
        <div class="item active">
            <ion-icon name="home-outline" class="icon"></ion-icon>
            <div class="text">Home</div>
        </div>

        <div class="item">
            <ion-icon name="chatbubble-outline" class="icon"></ion-icon>
            <div class="text">Chat</div>
        </div>

        <div class="item">
            <ion-icon name="camera-outline" class="icon"></ion-icon>
            <div class="text">Camera</div>
        </div>

        <div class="item">
            <ion-icon name="person-outline" class="icon"></ion-icon>
            <div class="text">User</div>
        </div>
        <div class="indicator"></div>
    </div>

    <script>
        const list = document.querySelectorAll('.item')
        function activeLink() {
            list.forEach((item) =>
                item.classList.remove('active'))
            this.classList.add('active')
        }
        list.forEach((item) =>
            item.addEventListener('click', activeLink))
    </script>

    <script type="module" src="ionic.esm.js"></script>
    <script nomodule src="ionic.js"></script>
</body>

</html>
12345678910111213141516171819202122232425262728293031323334353637383940414243444546474849
2. index.css
:root {
    --color: #222327
}

* {
    margin: 0;
    padding: 0;
    box-sizing: border-box;
}


body {
    display: flex;
    justify-content: center;
    align-items: center;
    min-height: 100vh;
    background: var(--color);
}

.container {
    width: 440px;
    height: 70px;
    background: #fff;
    display: flex;
    justify-content: center;
    align-items: center;
    border-radius: 10px;
    position: relative;
}

.item {
    display: flex;
    justify-content: center;
    align-items: center;
    flex-direction: column;
    width: 100px;
}

.icon {
    position: absolute;
    font-size: 1.7em;
    color: var(--color);
    font-weight: bold;
    transition: 0.5s;
}

.text {
    transform: translateY(20px);
    font-size: 0.75em;
    font-weight: bold;
    transition: 0.5s;
    opacity: 0;
}

.item.active .icon {
    transform: translateY(-32px);
    z-index: 1;
}

.item.active .text {
    opacity: 1;
    transform: translateY(10px);
}

.indicator{
    position: absolute;
    width: 70px;
    height: 70px;
    background: #29fd53;
    left: 35px;
    top: -50%;
    border-radius: 50%;
    border: 6px solid var(--color);
    transition: 0.5s;
}
.indicator::before{
    content: '';
    position: absolute;
    top: 50%;
    left: -22px;
    width: 20px;
    height: 20px;
    background: transparent;
    border-top-right-radius: 20px;
    box-shadow: 0 -10px 0 0 var(--color);
}

.indicator::after{
    content: '';
    position: absolute;
    top: 50%;
    right: -22px;
    width: 20px;
    height: 20px;
    background: transparent;
    border-top-left-radius: 20px;
    box-shadow: 0 -10px 0 0 var(--color);
}

.item:nth-child(1).active ~ .indicator{
    transform: translateX(calc(100px * 0));
}

.item:nth-child(2).active ~ .indicator{
    transform: translateX(calc(100px * 1));
}

.item:nth-child(3).active ~ .indicator{
    transform: translateX(calc(100px * 2));
}

.item:nth-child(4).active ~ .indicator{
    transform: translateX(calc(100px * 3));
}
123456789101112131415161718192021222324252627282930313233343536373839404142434445464748495051525354555657585960616263646566676869707172737475767778798081828384858687888990919293949596979899100101102103104105106107108109110111112113114
因为html中引入了国外链接,访问比较慢,
所以我这边提前给小伙提前准备好了
3. ionic.esm.js 和 ionic.js 下载
两个js文件下载地址:https://pan.baidu.com/s/17QHKaF5bZ-WiIr3l1k0-9g?pwd=8888
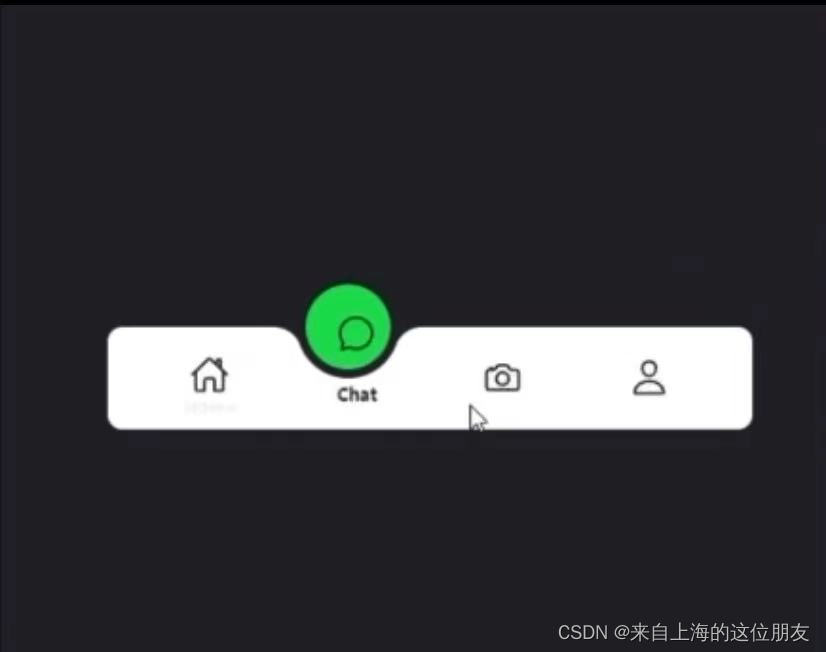
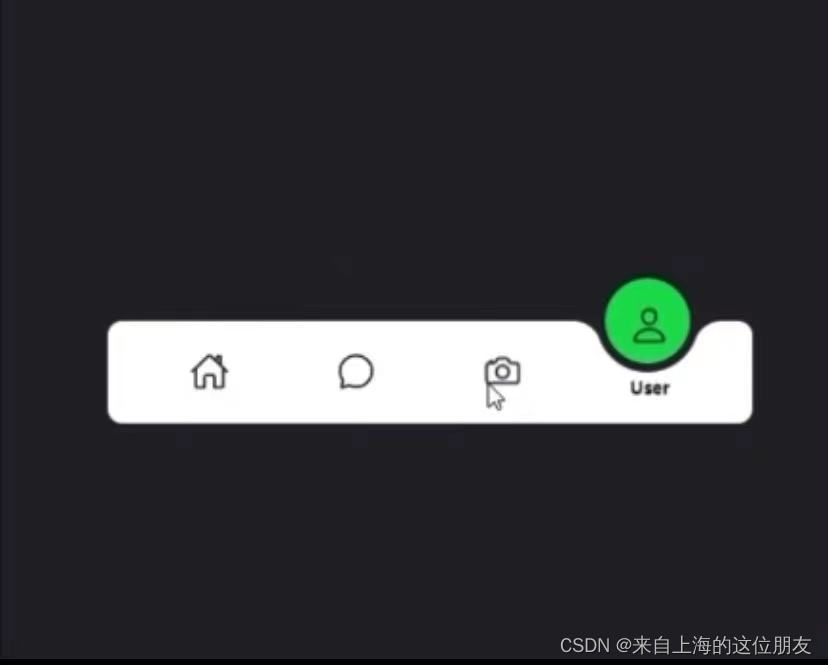
效果:


完成!
学习来源@抖音无名开发者